Publications
GEOM has been used in the following research paper(s):
- Giovannini, T.; Grobas Illobre, P.; Lafiosca, P.; Nicoli, L.; Bonatti, L.; Corni, S.; Cappelli, C. plasmonX: an Open-Source Code for Nanoplasmonics.Comput. Phys. Commun.2026, 110035. https://doi.org/10.1016/j.cpc.2026.110035
Features
- RDKit tools: molecular visualization, file conversion, force field optimization, and conformers generation.
- AI Assistant for nanoparticle and graphene creation
- Geometry Transformations: Translation, rotation, merging, and specular (mirror) transformations.
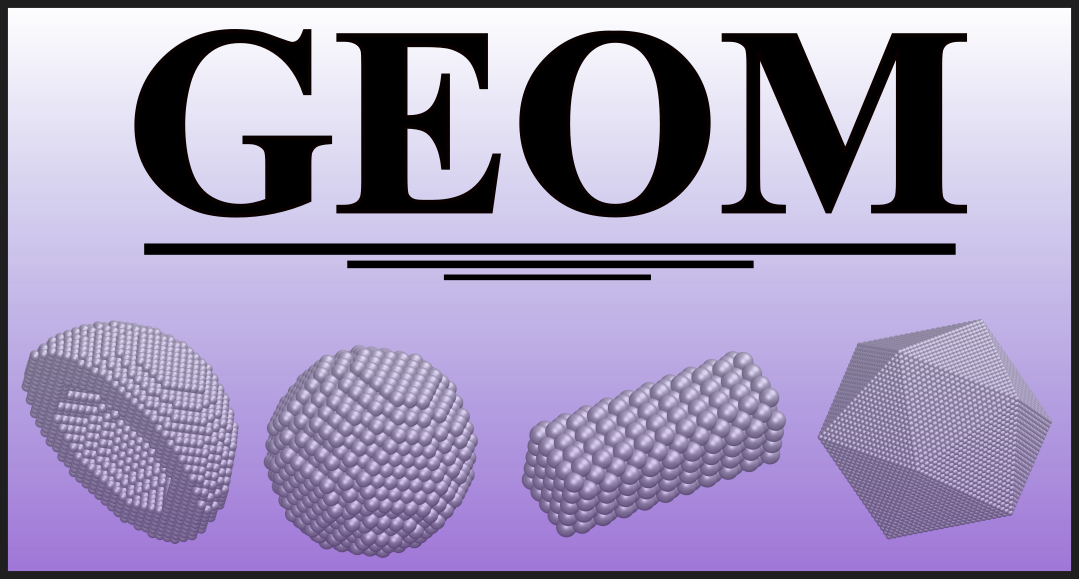
- Nanoparticle Generation: Sphere, rod, core-shell, tip, pyramid, cone, icosahedron, and more.
- Graphene Structures: Ribbons, disks, rings, and triangles.
- Advanced Options: Alloying, dimer formation, and bowtie configurations.
- Minimum Distance Calculation between XYZ geometries.
- Geometrical Center Computation.
Installation
GEOM requires Python 3.8+ and the following dependencies:
gmsh==4.11.1ase==3.22.1numpy==1.24.3pytest==8.3.4launchpadlib==2.1.0pyautogen==0.2.18flaml[automl]==2.1.1httpx==0.27.2
Setting Up the Virtual Environment
GEOM uses Conda to set up a virtual environment for your project. To install it and set up your environment, run the following:
./install.shThis script will:
- Check if Miniconda or Anaconda is installed. If not, it will prompt you to install Miniconda.
- Set up a virtual environment named geom_env with the necessary dependencies.
- Configure environment variables and aliases for running GEOM.
Activate the Environment
After installation, load the GEOM environment by running:
geom_loadThis will set the necessary aliases and environment variables to run the tool properly.
Once the environment is set up, run the following command to see the available options:
geom -hThis will display the help menu with all the available commands and their descriptions.
Example commands:
RDKit conformers generation
geom -rdkit -i tyrosine.mol -confsRDKit file conversion
geom -rdkit -i tyrosine.mol -o tyrosine.pdbRotate geometry 90 degrees around the Y-axis:
geom -r1 90 geom.xyz origin_CM_yes +y- Generate a nanoparticle sphere:
geom -create -sphere Ag 30- Generate a graphene ribbon:
geom -create -graphene rib 50 20Starting the AI Assistant
GEOM now includes an AI-powered assistant that understands natural language, translates it into valid GEOM CLI commands, and executes them automatically.
This assistant is built using Microsoft's AutoGen framework, which enables a multi-agent system to interface with OpenAI’s language models and run commands dynamically.
1. Export your OpenAI API key
The assistant requires access to OpenAI's LLMs. Make sure you have your API key set:
export OPENAI_API_KEY=your-api-key-hereYou can obtain an API key from https://platform.openai.com/account/api-keys
2. Start the assistant
To launch the chat-based assistant, load the GEOM environment (i.e., with geom_load) and run:
ai_geomYou’ll be greeted with a ChatGPT-like chat prompt where you can type your requests for geometry creation:
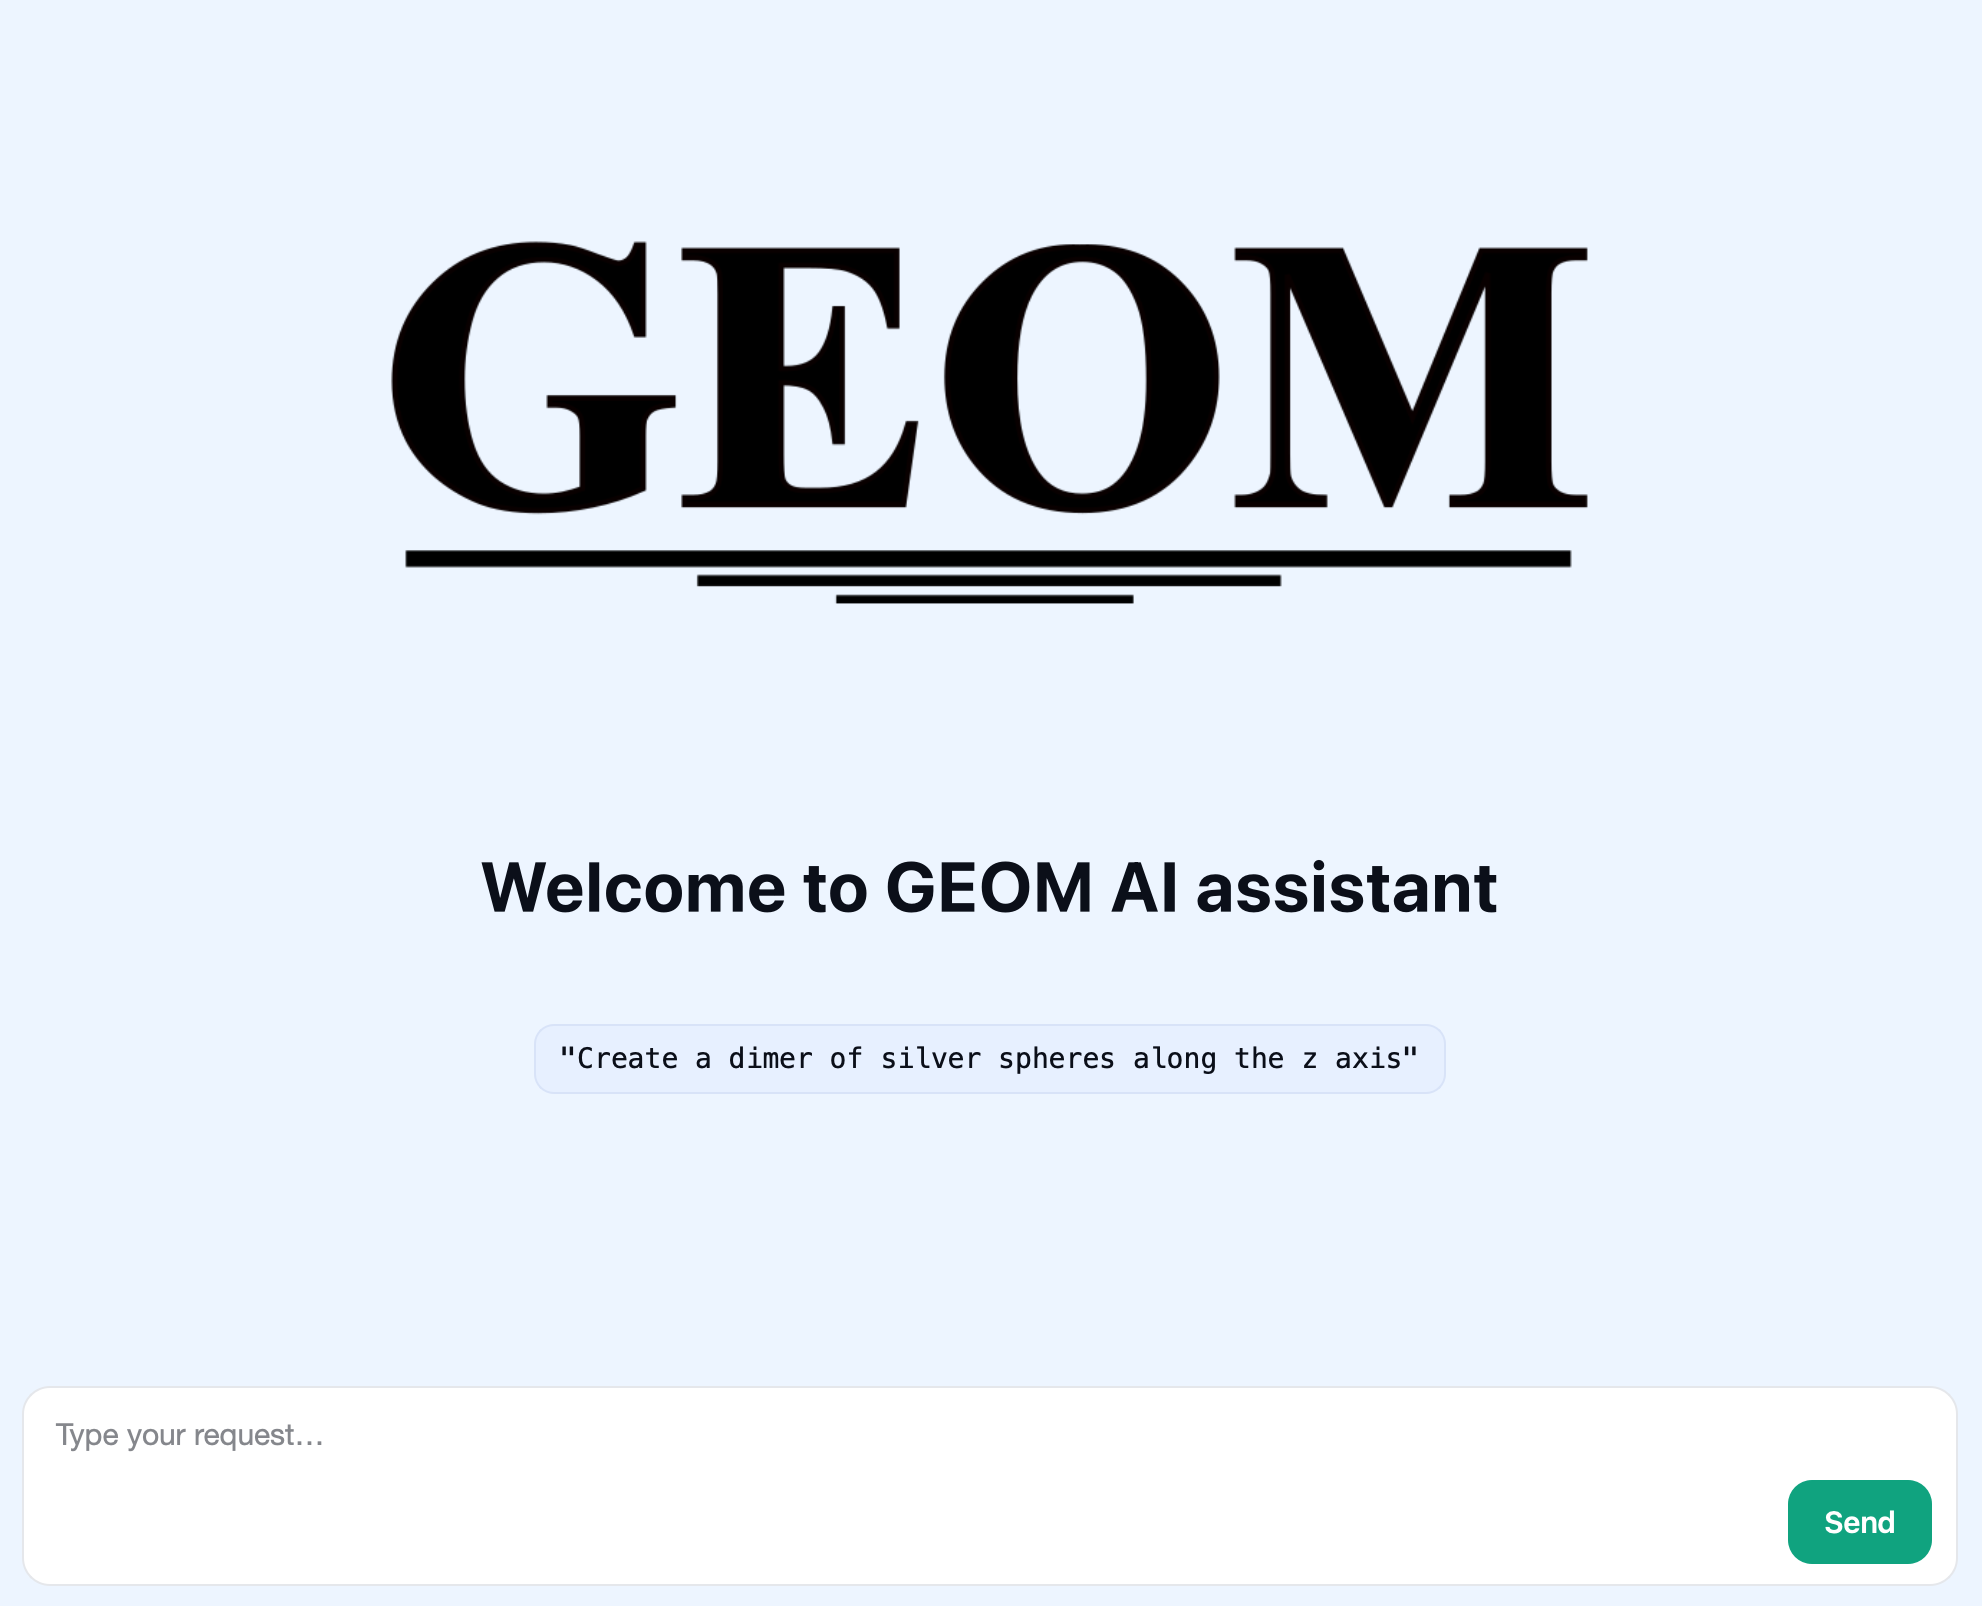
The assistant will automatically create and execute the corresponding GEOM command for you.
Running Tests
The ./install.sh script automatically runs tests to ensure everything is set up correctly.
To manually run the tests again:
./geom/tests/run_all_tests.shLicense
GEOM is licensed under the GNU General Public License v3.0.
Funding
This project has been supported by the FARE 2020 program — "Framework per l’attrazione e il rafforzamento delle eccellenze per la ricerca in Italia."
Contact
For issues or contributions:
- Email: pgrobasillobre@gmail.com
- Github issues: https://github.com/pgrobasillobre/geom/issues